• Home
  • Episodes 
  • Blog
  • Be a Guest
  • About
  • Media
  • Podcast Production
  • Shop
  • Contact
Menu

FINDING ARIZONA PODCAST

Street Address
City, State, Zip
Phone Number
Podcast for Arizona, in Arizona, by Arizona

Your Custom Text Here

FINDING ARIZONA PODCAST

  • Home
  • Episodes 
  • Blog
  • Be a Guest
  • About
  • Media
  • Podcast Production
  • Shop
  • Contact

MONSOON MAYHEM: ARIZONA FLOOD DAMAGE RESTORATION GUIDE

February 14, 2025 Britt Johnson
 

Arizona’s monsoon season brings much-needed rain—but it also causes flash floods that can lead to significant property damage. When heavy rains overwhelm drainage systems, homes and businesses are at risk of costly destruction. If you’re dealing with a flood, knowing how to approach water damage cleanup quickly and effectively is crucial. Furthermore, professional restoration services can help reduce damage and speed up recovery.


Understanding Arizona’s Monsoon Season

Arizona’s monsoon season runs from June to September, bringing sudden, intense storms that can cause flash flooding. Unlike regular rainstorms, monsoons develop quickly, often with little warning, and produce heavy downpours in a short amount of time. Because Arizona’s dry soil struggles to absorb water fast enough, streets, washes, and even homes in affected areas can flood within minutes.

Strong winds, dust storms, and lightning often accompany monsoon rains, increasing the risk of fallen trees, power outages, and structural damage. Urban areas are especially vulnerable due to paved surfaces that prevent water from draining properly. While monsoon rain is essential for replenishing water supplies, it also creates serious hazards for homeowners. Knowing how to respond quickly to water damage cleanup can make all the difference in protecting your property.


Water Damage Removal and Restoration Tips

Restoring your home after a flood requires a strategic restoration process to minimize long-term damage. Here are essential water damage removal and restoration tips based on expert guidance:

●      Act Quickly – The longer water sits, the worse the damage becomes. Start the cleanup process immediately to prevent structural weakening and mold growth.

●      Prioritize Safety – Wear protective gear, including gloves and masks, since floodwater may contain contaminants, bacteria, or chemicals. Avoid touching electrical outlets or appliances until they have been inspected.

●      Remove Standing Water – Use a wet-dry vacuum or professional water extraction services to clear out pooled water. The faster you do water removal, the less damage it causes.

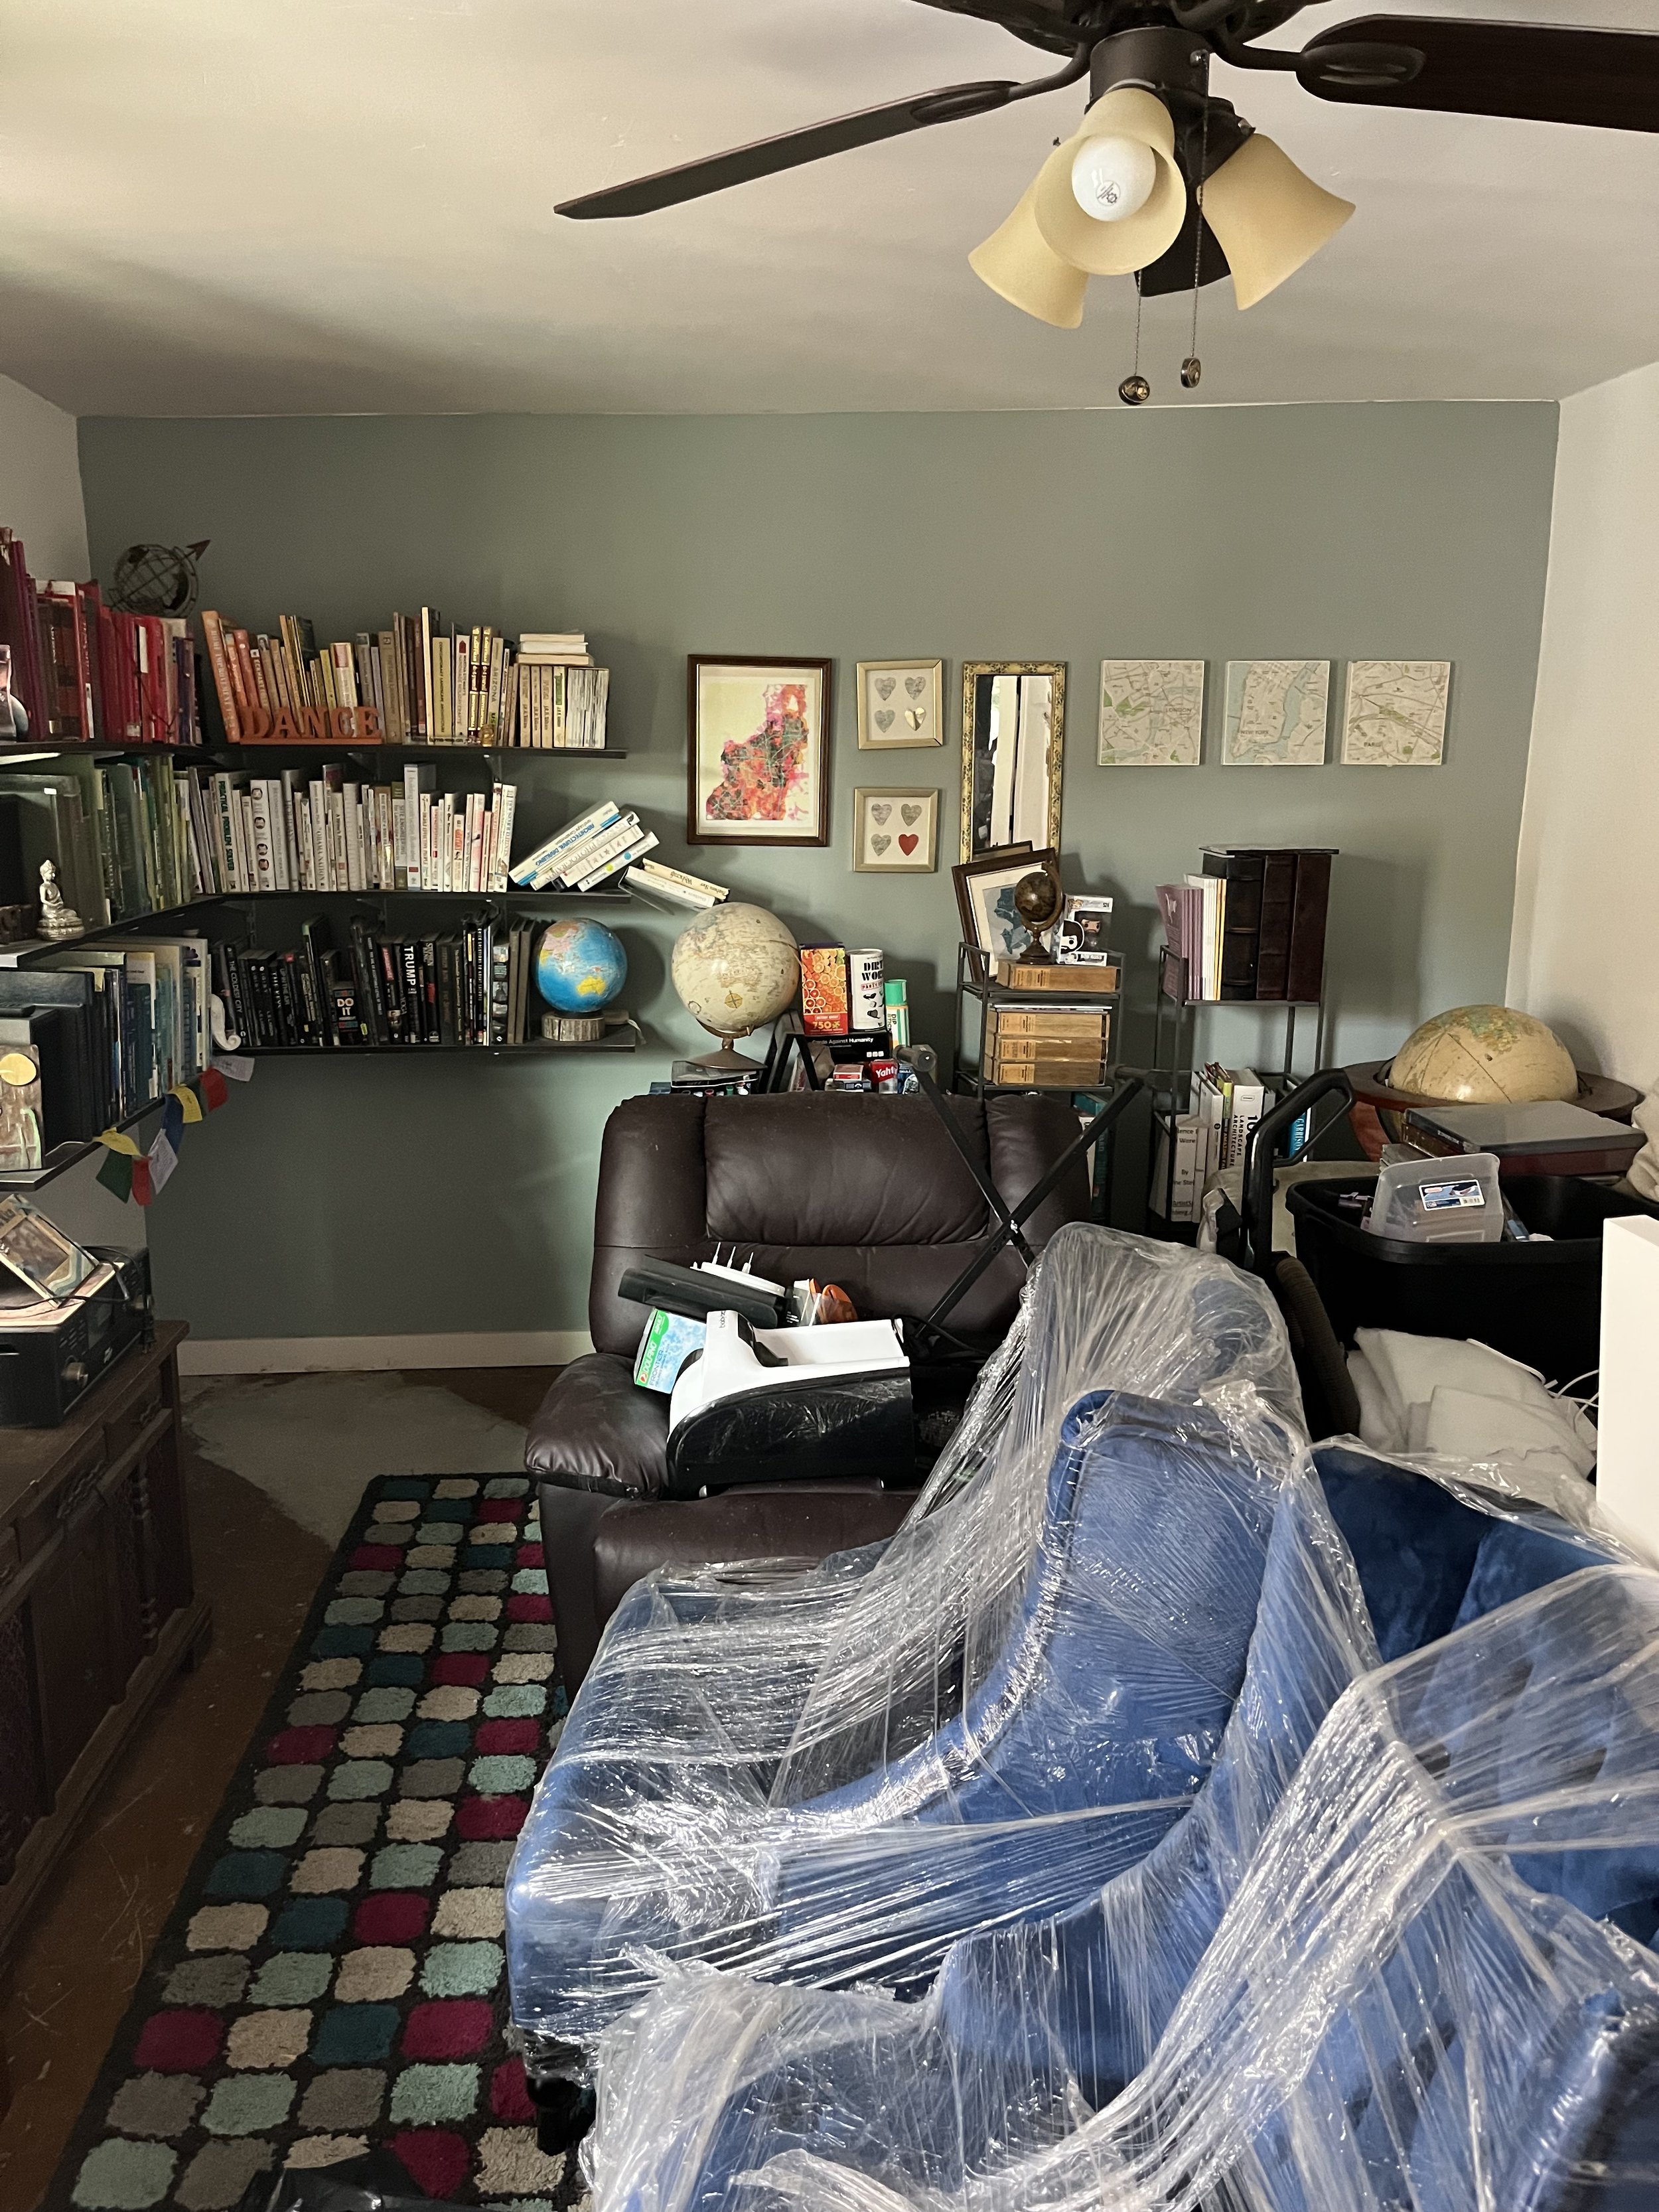
●      Sort and Discard Items – Some materials, like soaked carpets, insulation, and drywall, often cannot be salvaged and need replacement. Hardwood furniture and non-porous items may be cleaned and restored.

●      Thoroughly Dry the Area – Use industrial fans, dehumidifiers, and open windows to accelerate drying. Moisture trapped in walls, flooring, and ceilings can lead to hidden mold issues.

●      Deep Clean and Disinfect – After drying, sanitize all affected surfaces to prevent bacteria and mold growth. Use EPA-approved disinfectants for best results.

●      Inspect for Mold Growth – Mold can develop within 24-48 hours. Check hidden areas such as behind walls, inside cabinets, and under carpets. If you spot mold, professional remediation may be necessary.

●      Repair Structural Damage – Flooding can weaken walls, flooring, and foundations. Have an expert in water damage restoration processes inspect your home for any signs of long-term structural issues.

●      Work with Professionals – Water damage restoration specialists have the equipment and expertise to handle extensive damage, ensure thorough drying, and prevent future issues.


Working with Your Insurance Provider

Filing an insurance claim for flood damage can be a complex process. Here’s how to streamline it:

●      Report the Damage Immediately – Contact your insurance company as soon as possible.

●      Provide Documentation – Submit your photos, videos, and an inventory of damaged items.

●      Understand Your Coverage – Some policies exclude flood damage, so check whether additional flood insurance applies.


Protecting Your Home from Extensive Flood Damage

While Arizona’s monsoons are unavoidable, you can take steps to minimize future damage:

●      Improve Drainage Around Your Property – Ensure gutters and downspouts direct water away from your home.

●      Install a Sump Pump – This can help remove excess water before it causes damage.

●      Use Flood-Resistant Materials – Consider water-resistant flooring, insulation, and wall coverings.

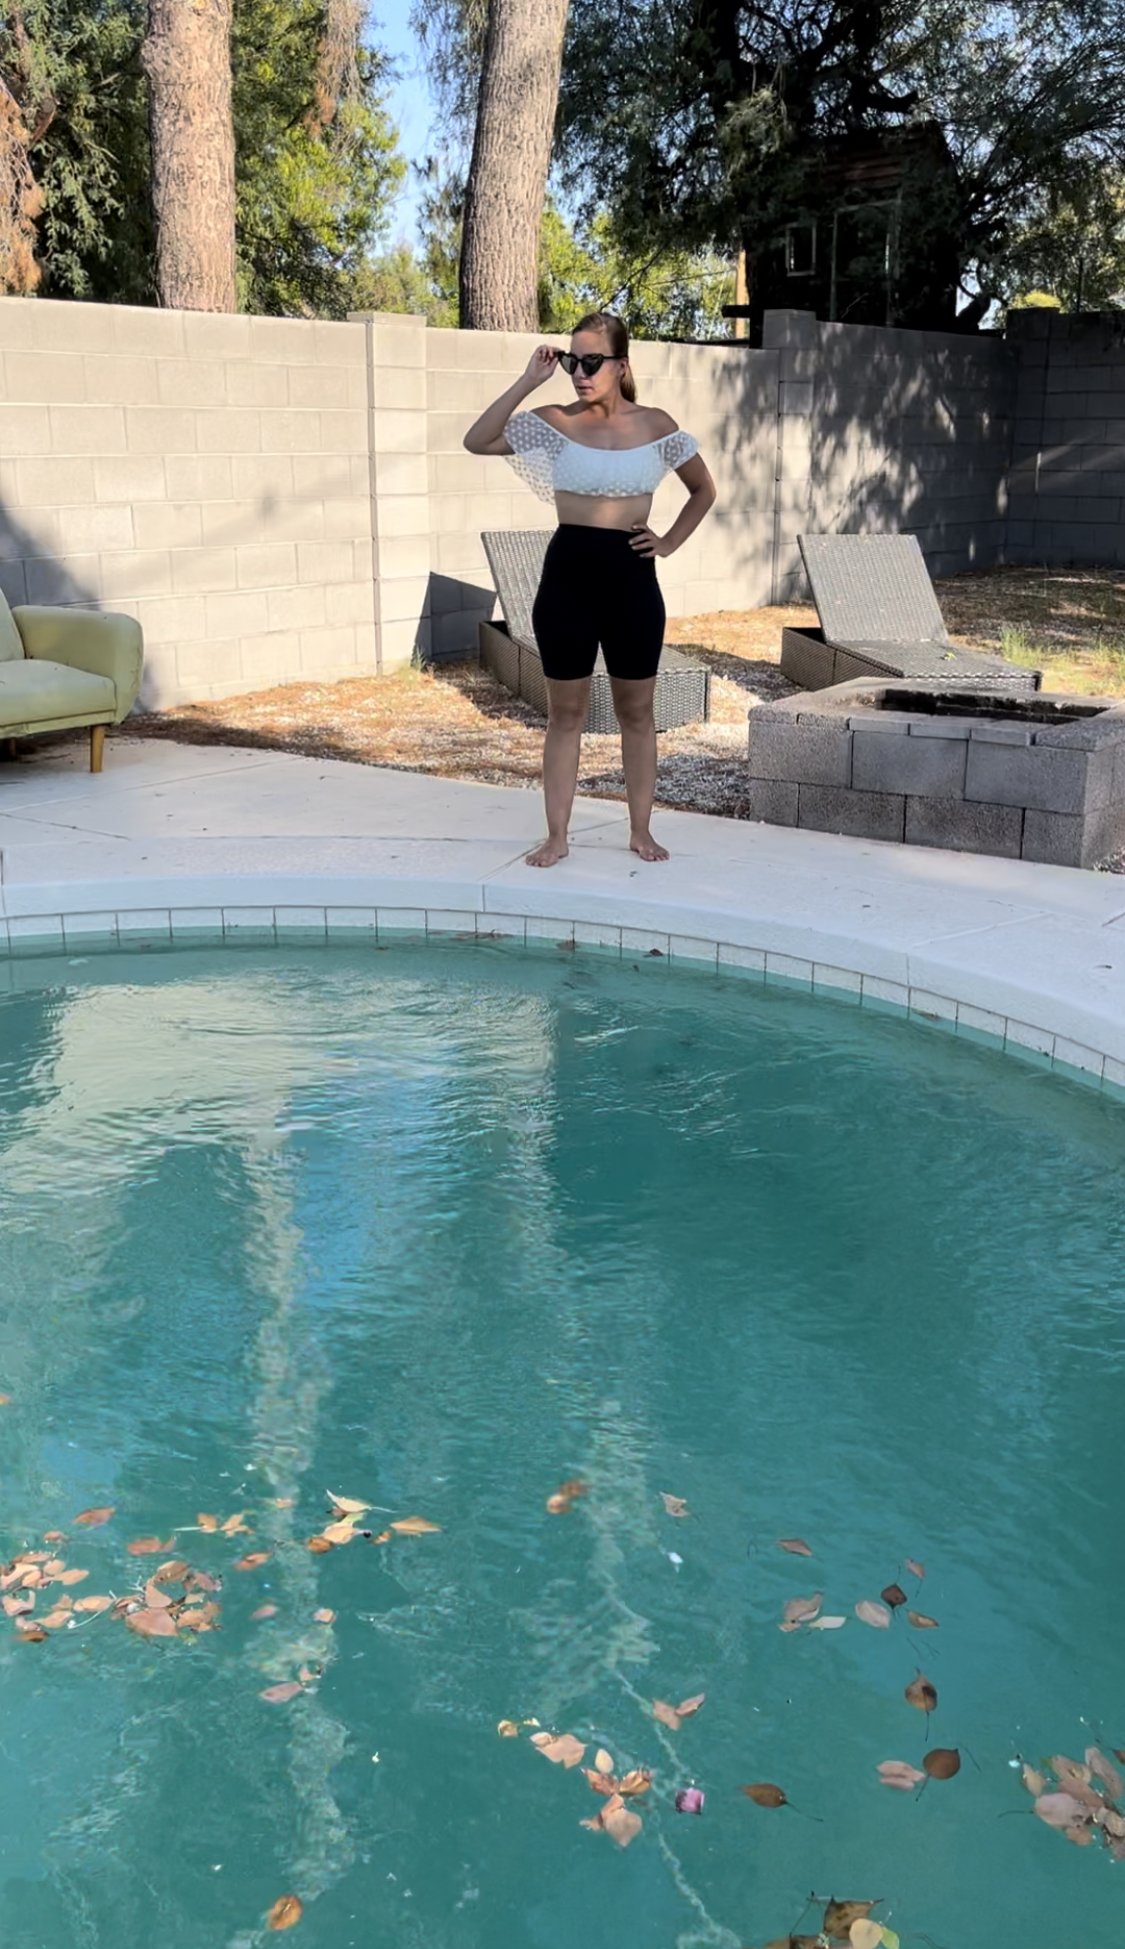
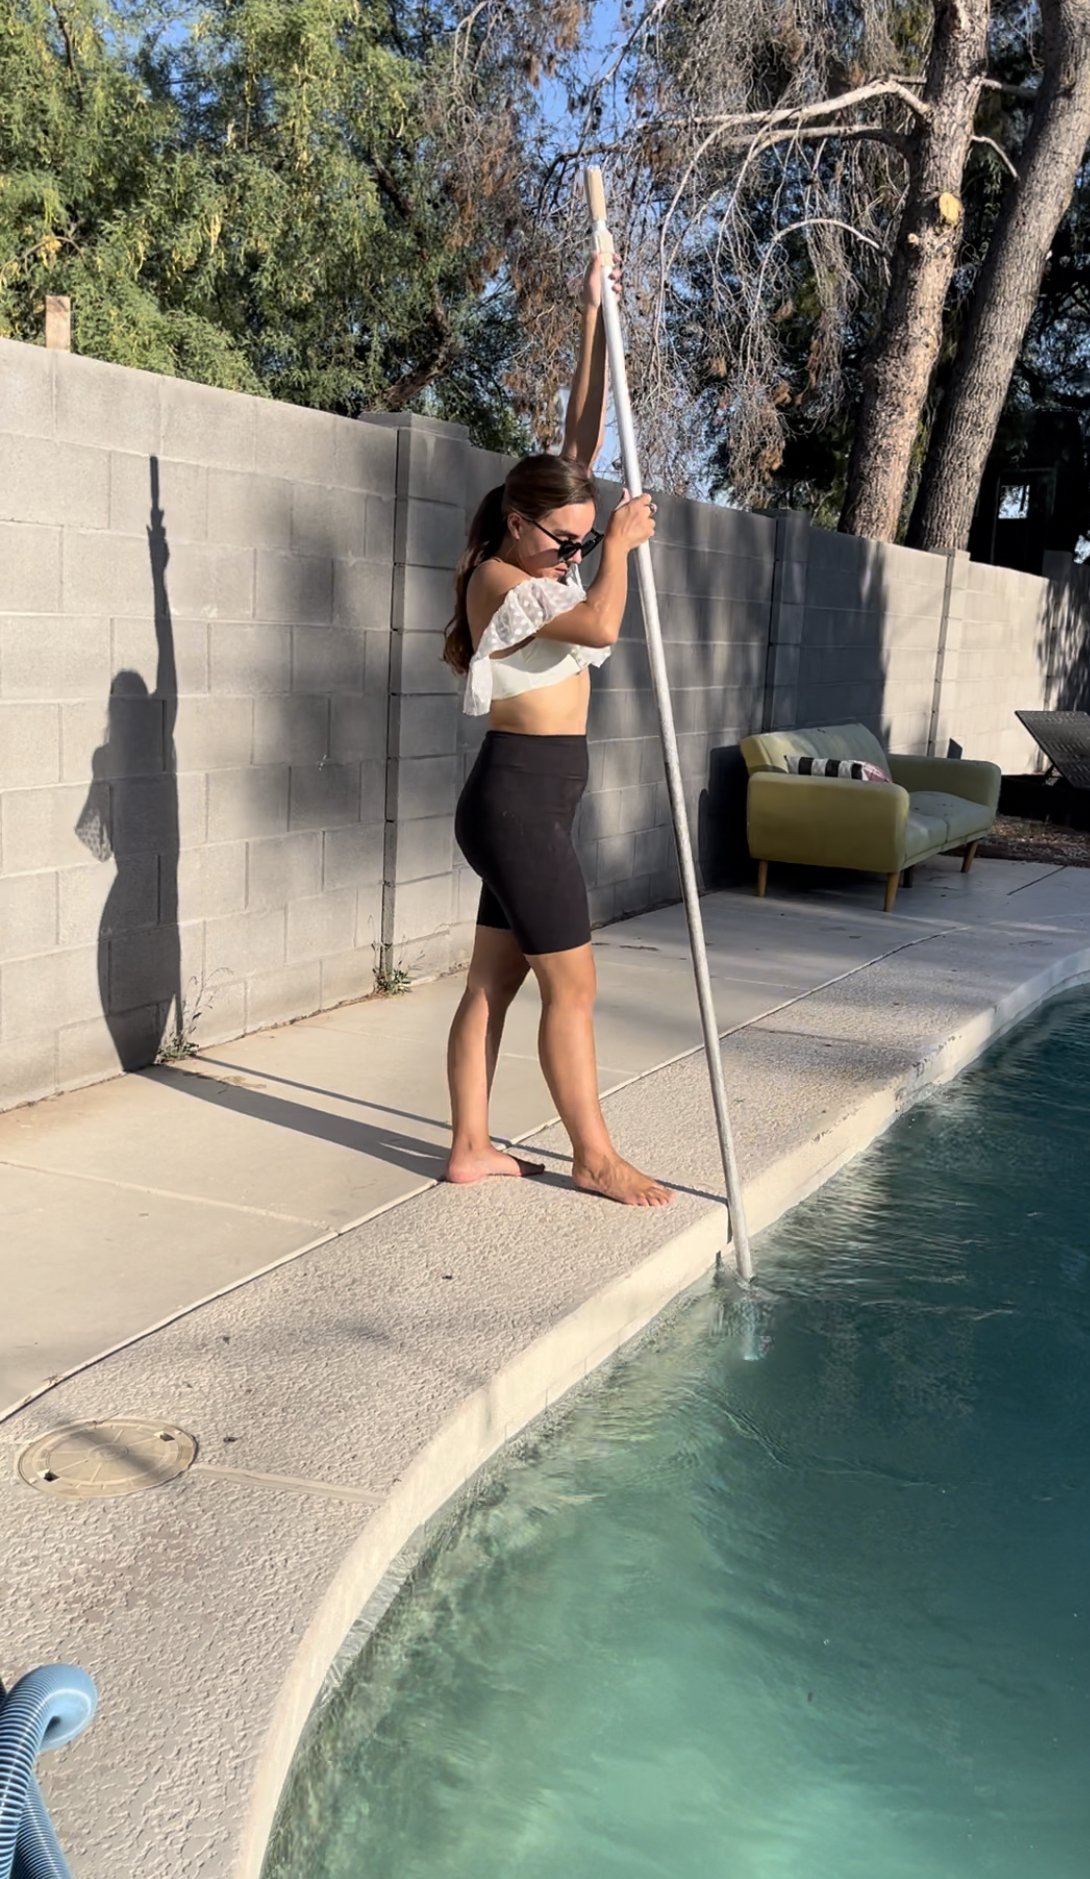
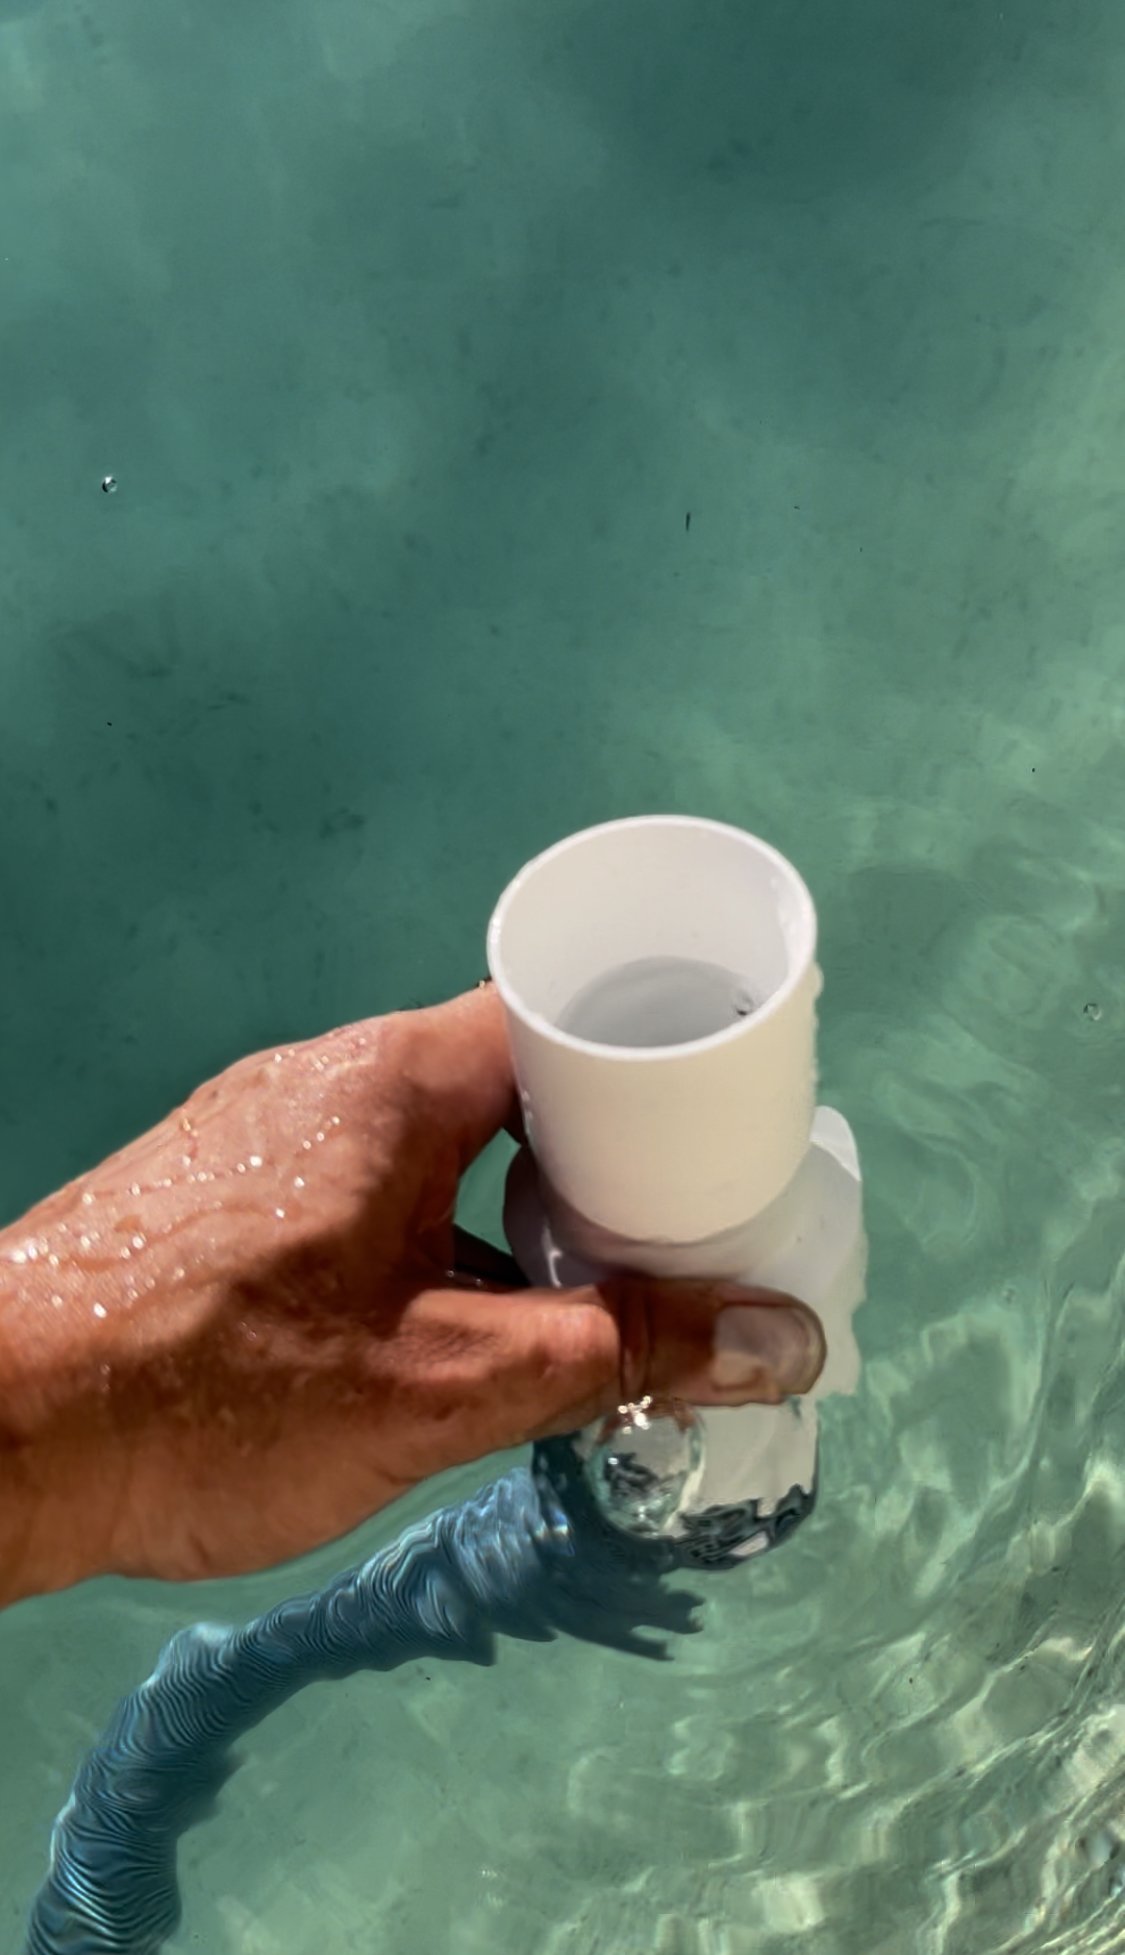
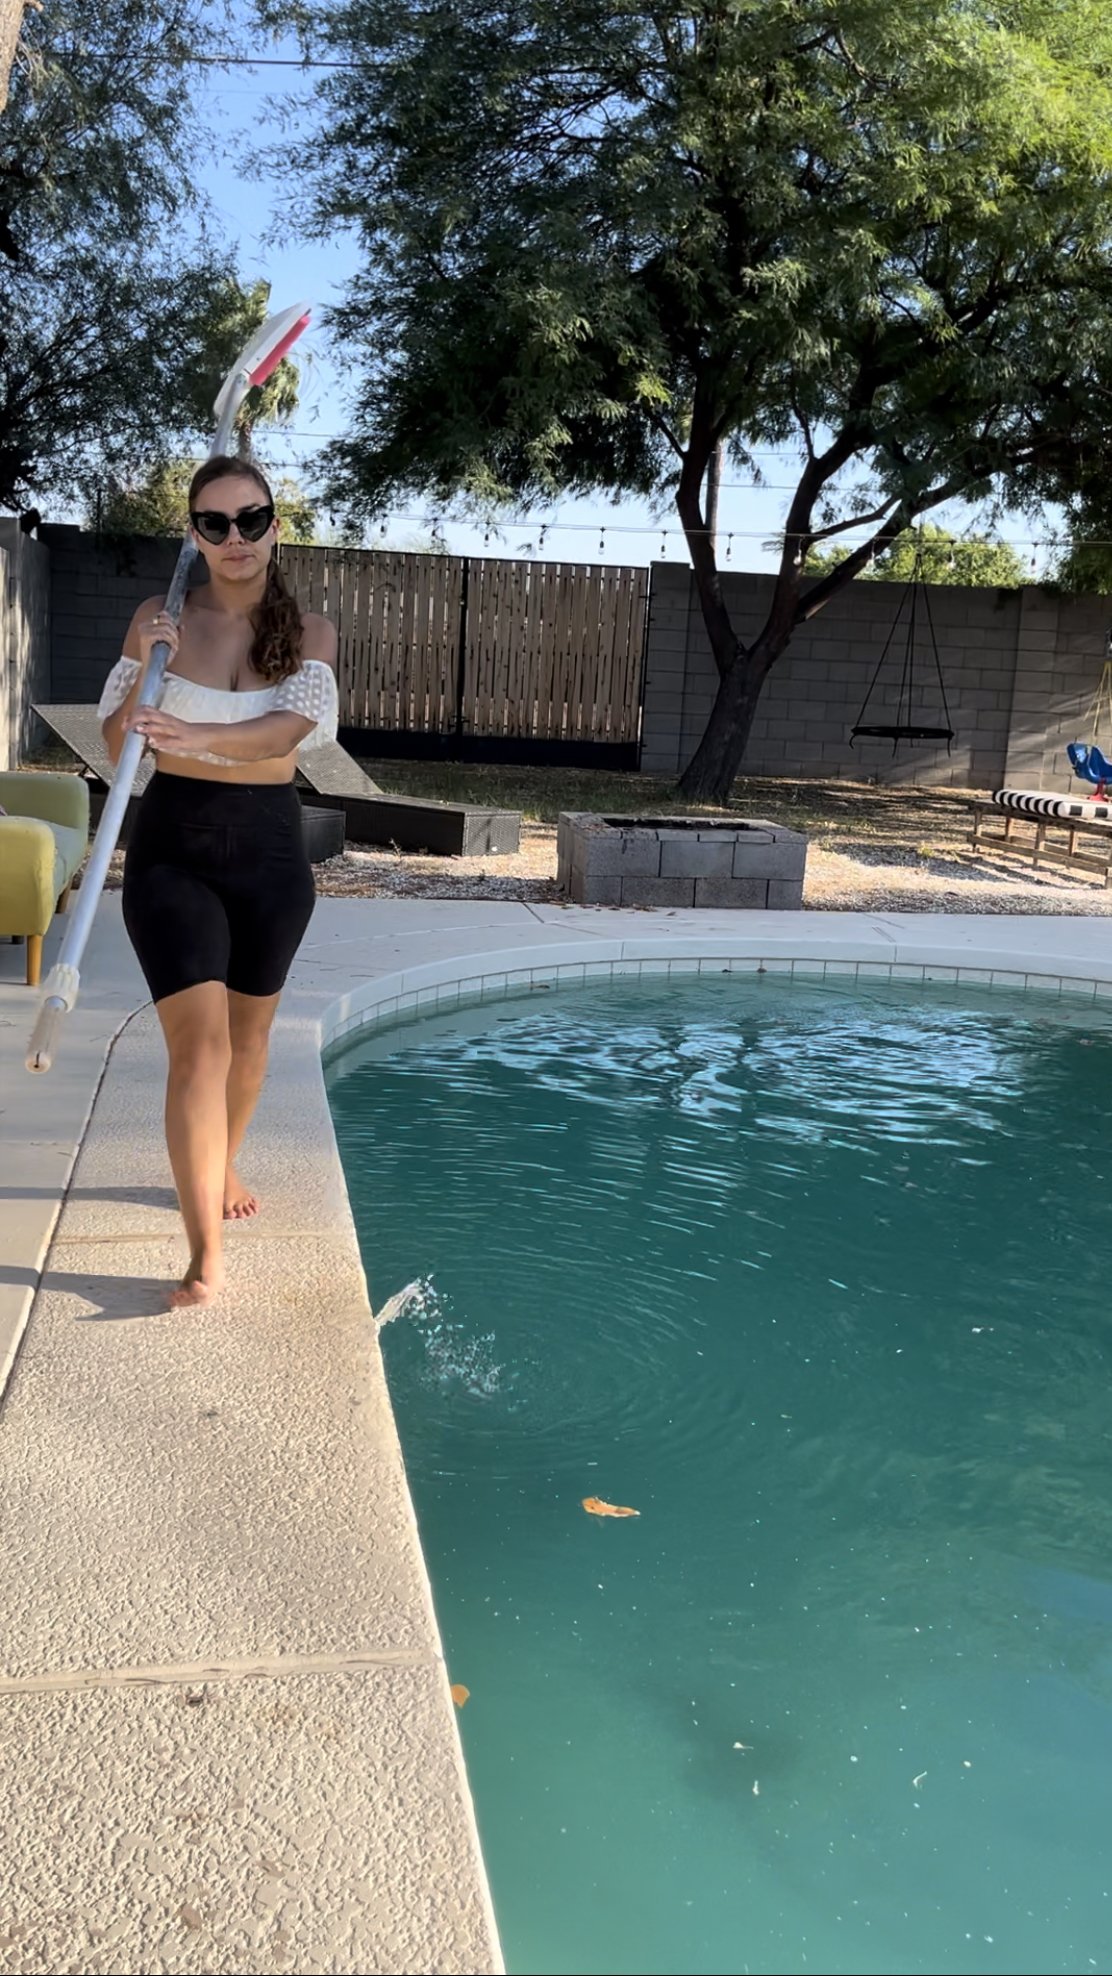
●      Prevent Pool Overflow – Maintain proper water levels and ensure the drainage system of your pool can handle excess rainwater to avoid flooding nearby areas.


Essential Steps for Water Damage Restoration

Flood damage can be overwhelming, but taking it one step at a time makes recovery easier. Once the cleanup is started, focus on moving forward instead of stressing over the extent of the damage. Getting help from professionals can make repairs faster and less stressful. Insurance claims and fixes might take a while, so stay patient. With the right approach, your home will be back to normal, and you can put the storm behind you.


About the Author

Khristal Karen is a content writer for Disaster Recovery Restoration, crafting informative pieces that captivate the readers. With a knack for storytelling, she brings a fresh perspective and provides educational content to every topic she explores.

In Home Tags water, arizona, Arizona Summer, guest post
Comment

FIRST DAY OF SUMMER POOL MUST HAVES

June 20, 2023 Britt Johnson
 

Summer has officially arrived! In Arizona, we have been feeling the triple digit temps for a while and what better way to cool off than by taking a dip in the pool? Thanks to Leslie’s, our pool is ready for all the swim days. However, before you jump in, dive into this blog’s essential pool products to make sure you are ready for the season. Here are some of the must-have pool products at the Acevedo’s House.


1. SHOCK

Proper chemical levels are crucial to maintaining a clean and healthy pool. When monsoon season hits your pool needs a shock! Weekly maintenance too! I prefer Power Powder from Leslie’s . Shock it, scrub it and * pro tip * keep your scrub brush in the pool at all times the more you take it out of the water and give it oxygen it will encourage algae growth.

2. CHLORINE TABS

Fill up your floater, skimmer basket and my * pro trick * (wearing gloves) scrub algae directly with your tab and watch it disappear like magic! Chlorine tabs from Leslie’s uses pro-grade quality to control all types of pool algae, bacteria, germs, and parasites for cleaner, healthier water. Sunlight burns chlorine so if you’re servicing your pool, best to do it the evenings and night time.

3. HOSES

Between a vacuum hose and a backwash hose, good quality, professional grade pool hoses are hard to find. Leslie’s carries everything- even the other “pool guys” shop there. I am obsessed with their 50 foot backwash hose. I use it weekly.

4. PERFECT WEEKLY

Once a week adding Perfect Weekly to my skimmer to keep my phosphate levels low, reduces oils, and keeps the water level. All of these are major for Arizona. Monsoons, sunscreen + excessive heat = Perfect Weekly!

5. SUNSCREEN

Make it part of your daily routine. Protecting your skin from the sun's harmful rays is essential. Even on days when you dont “think you will go outside” or early morning or late afternoons. Make sure you are protecting your greatest asset, your skin so you can have all the pool days!


I may have got a C in Chem in highschool, but I am earning an A in Pools Maintenance thanks to Leslie’s!

XoXo

Britt

 
IMG_4315.jpeg
IMG_4311.jpeg
IMG_4308.jpeg
IMG_4309.jpeg
IMG_4310.jpeg
IMG_4313.jpeg
IMG_4314.jpeg
IMG_4306.jpeg
In Personal, Home Tags First Day Of Summer, Summer 2023, Summer 23, Summer, First Day, Arizona Summer, arizona, Pool Season, Pool, Leslie's Pool, Leslie's Pool Services
Comment

BUILT IN LIBRARY WALL

February 18, 2023 Britt Johnson
 

This has been one of the most involved projects we've worked on. Over 5 years in the concept, 1 year in the design and sourcing for 1 day install…Totally worth it! The built in library wall of my dreams!


The library consists or 2 large cabinet bases, two 3 tier bookshelf tops, and a bench nook overtop storage drawers to bring it together. The room originally had the Home Depot track shelving. Six of them. After dreaming of a built in and several trips to Ikea later, we sketched up the design. Then life happened.


A year went by and no time was found between 2 full time jobs + podcast + toddler + life ?!? Okay lets be smart about opportunity costs. Using our amazing podcast guest referrals of someone who knew someone who knew someone, Debbie, from Closets by Design was at our house.


Although the install was to be 4 months in the future, it too passed quickly. After a quick couple hours and an amazing team of installers, we have the bookshelves of our dreams. Lets just say organizing it was enough work. Over 400 books with a toddler was an activity in itself.


It is my new favorite space, I am sure you can see why. Come on over and enjoy it with us!

XoXo
Britt

 
IMG_9465.jpeg
IMG_2159.jpeg
IMG_2175.jpeg
Libraryshelf-2.jpg
Libraryshelf-1.jpg
In Home Tags DIY, Build, Custom Build, book, bookshelf, sketch up, historic, downtown, phoenix, Phoenix AZ, Phoenix, arizona, Arizona, builder, DIY project, closets, design, Interior Design, closet design, built in
Comment

MISSION CLOSET REORGANIZATION

October 8, 2020 Britt Johnson
IMG_2586.jpeg
 

They say one of the keys to a successful marriage is not sharing a closet- well we went 1 year following that rule, but now with the nursery taking over, my closet room, I am learning to share. Wish us luck as we come up on our first year wedding anniversary.


Jose was blessed with a walk in closet since we moved into the house and took to sharing very nicely. Our key elements going into the reorganization are we wanted to stay organized, size down and make sure it was esthetically pleasing. After a few weekends of work and binging the entire season of Get Organized with the Home Edit on Netflix we now have a success husband and wife closet. Here are a few tricks we followed to smooth out the process. Whether you are sharing or not here is how to live your best closet life.


1.       Eliminate- Whether you follow Marie Kondo’s “does it spark Joy?” rule or not, we went through our entire closet and asked ourselves: When is the last time you wore it? Does it fit? Is it practical? As a new mom I need to make sure I am updating my wardrobe getting rid of the trendy sweaters and graphic T’s and making full use of a wardrobe I can wear. After compiling several boxes and trash bags of donations we were able to eliminate quite a bit.


2.       Categorize- Once we had what we were keeping, we started organizing by style- shirts with shirts, pants with pants, jackets with jackets, etc. Even accessories matter too- hats, belts, shoes. It not only makes it easier to find things but also organizes for seasonal wear and an added plus, it is esthetically pleasing.


3.       Make it look good- If your closet looks good, it is a place you will enjoy being in; picking out something to wear or folding laundry wont feel like a chore when it is a place that bring you happiness. You don’t have to break the bank by hiring a third party closet organization company- instead #DIY. Two biggest tips are matching hangers and bins. The velvet hangers fit more and look great, we picked ours up from Costco, but Amazon has a great deal too, check it out here. Storage bins allow you to not have the perfect fold or throw things you don’t normally fold in like socks or ties. We picked up these from Walmart- V budget friendly.


Hope this brings some inspiration to your closet. I would love to see some before and afters in your house. As we prepare the baby room, these tips will definitely carryover and we hope to continue to keep the peace in our shared closet.

XoXo

Britt


IMG_2534.jpeg
IMG_2535.jpeg
IMG_2532.jpeg
IMG_2574.jpeg
IMG_2531.jpeg
IMG_2575.jpeg
IMG_2530.jpeg
IMG_2577.jpeg
IMG_2529.jpeg
IMG_2576.jpeg
IMG_2528.jpeg
IMG_2580.jpeg
In Home Tags Personal, Closet, Organization, Reorganization, Marie Kondo, The Home Edit, Closet Organization, DIY, Home
Comment

HOME UPS- QUICK & CHEAP REDESIGNS IN QUARANTINE

April 4, 2020 Britt Johnson
Home Ups - Quick and Cheap Redesigns in Quarantine
 

Finally, Arizona issued a Stay at Home Order this week. Although, as essential personnel this means the same for us. Jose is now #Workfromhome, but once I return, after I de-clothe and shower we become home bodies. April 1 we celebrated our 3rd year as home owners and wanted to share a few Home Ups we did to protect our budget and our sanity as we Shelter in Place.


Living Room- The first piece of furniture we invested in our living room was a new couch. It took a while to find the right sectional for our space. We love comfy couch sessions and could see us doing that with a normal sofa. Luckily Living Spaces had the right size within our budget! Once that main piece was in we worked on accessories. Between Ikea and Walmart we found these gorgeous gold frames and had our favorite wedding photos printed in black and white to showcase in the entryway. I also was looking for a great full-length mirror that would not break the bank, to balance the other side of the TV and Way Fair had #JustWhatINeed. Lastly, I went around the house to the other rooms to re-purpose trinkets, books, knickknacks, candles and crystals that would fit the theme. I even used a rug from another room to warm the space’s concrete floors. This room proves that you don’t have to go out and buy all NEW items for a room makeover.

 
Home Ups - Quick and Cheap Redesigns in Quarantine
 

MASTER BATH – This was and is my favorite room in our house. So much pink and potential. It was originally added to the home in the 70’s for the owner’s wife, as it’s the only part of the house ADA approved. Three things we did here and for less than $100. First, the original wood vanity mirror we painted black. Second, we switched out the light fixture. Geeze, the things you realize are so expensive when you get older: rugs, lights, nuts, etc, blog post to come? We scored a great LED light on Amazon, I bought, Jose installed. Our latest VLOG will show you the BTS of that. LOL. Lastly, I got a frames at goodwill, painted black and printed free, fun bathroom sayings: I like your butt, and more! You can print your own from my Pinterest page here.

 
Home Ups - Quick and Cheap Redesigns in Quarantine
 

KITCHEN/PANTRY- Our kitchen is next on our home remodel. We recently had to make a major investment into our plumbing as we had the original cast iron pipes from the 1949 build collapse. As we continue to save back up for the kitchen cabinets, counters and hardware we made a few arrangements that make our house a home. The biggest and best change I made was turning our bar cart into a coffee cart! We don’t really drink alcohol, anymore, so this re-purpose was necessary. Instead of dragging out my Keurig to our limited counter space every morning, I rolled our bar cart into our pantry, added our carousel of k cups and ordered a quick Frida print on Amazon. Now my pantry is more than just a walk through, it’s a walk in.

 
Home Ups - Quick and Cheap Redesigns in Quarantine
 

The purpose of this blog is to show you during Q-tine you don’t have to be bored. You don’t have to spend money you don’t have. You don’t have to live in a space that doesn’t bring you joy or spark creativity. Take these tips into the weekend and let me know any room redecorating you’re doing.


We plan on filming a Cribs Vlog next weekend and I can’t wait to show you what we have done and what we plan to do with our forever home space. Stay safe and stay home.

XoXo Britt

In Home Tags Finding Arizona, Budget, budget friendly, Redesign, Design, Quarantine, COVID-19, Shelter In Place, Stay at Home, Home, homeowner, Home Decor
Comment

ACEVEDO DESIGNED ACEVEDO BUILT

July 18, 2019 Britt Johnson
Finding AZ  Renno
 

A few weeks ago, Jose posted a photo of our newly finished product, the pergola! Acevedo designed and Acevedo build, the deck and the pergola are the newest additions to the FInding Arizona Home and we are one step closer to the wedding date and the backyard looking fabulous! I wanted to take this time to highlight the amazing team behind Pair of Aces. My amazing father in law and his business partner work so hard to deliver quality results and treat every project like it is apart of their home.


Our deck was the first project the Aces worked on. This gigantic 16x18ft deck was put up in 3 days and elevated the space in so many ways. We went from a 2x4ft plastic deck to a massive idahoan wood dance floor. I came home from work one day and had the pleasure of screwing in the last screw! Speaking of dance floor: it has been brought to my attention by a close friend, and professional that if you are attending the Finding AZ Wedding DO NOT wear skinny heels. Block heels, wedges and flats are preferred, not only for the deck, but the grass ceremony and gravel dinner. I am sure at one point all shoes will be off, but just a side note.

 
Sketch Up Finding AZ  Renno
 

More recently, the pergola was designed and installed. I loved watched Jose use Sketchup to bring his design to life. I joked that the model in the photo looked just like him! Right?


After printing out measurements to the team, the Pair of Aces were off to work cementing in footings and getting all the wood we need to sand and stain. We wanted to work smarter so we sanded and sealed each piece of lumber prior to it going up. This meant late nights and sore muscles, but now that it is all up we are so glad we took the tame to protect the wood.


Each hour casts a different shadow on the pergola creating the most breathtaking shadows. Yesterday afternoon I was sitting in our library gazing out the sliding glass doors in awe of the hand crafted masterpiece. From the block wall, to the deck to the pergola all I want to do is hangout outside in the yard and admire. BUT of course in the pool, because we have officially hit triple digit teens in AZ!


Time to book your travel plans and pack your bathing suit. I fixed up the guest room for some amazing people staying with us in July, and of course, will shared the details on the blog here! No, it’s not a real Air BnB but it feels like paradise to us everyday.

XoXo

Britt

 
IMG_3717.jpg
Screen Shot 2019-06-30 at 8.50.20 AM.png
IMG_3716.jpg
Screen Shot 2019-06-30 at 8.51.32 AM.png
IMG_5096.jpg
Screen Shot 2019-06-30 at 8.52.42 AM.png
IMG_5099.jpg
Screen Shot 2019-06-30 at 8.51.05 AM.png
IMG_5086.jpg
Screen Shot 2019-06-30 at 8.53.14 AM.png
In Home Tags homeowner, Home Rennovations, Design, Custom Build, Build
Comment

GUEST ROOM REDESIGN ON A DIME

July 5, 2019 Britt Johnson
Guest Room Redesign on a Dime
 

It only took us over a year to fix up the guest room, but we did it! First, it was storage, then WInter’s Dog Room, and now a proper guest room for our future stays! I cannot be more excited about the first guest staying in the room, but before that, I want to share all the details of this design on a dime guest room.


When we first moved in and painted every room in the house I immediately used this room to practice an ombre wall. Blending blues for hours and hours I was very impressed by my work of art and have even used it for several photo backdrops. We used the blank walls to hang my Monet prints collection. Other than that this room was easy to clean up to prep for a makeover. A little paint to touch up the base boards that our wonder full puppy chewed up and the room was ready for furniture.


We wanted to go with a futon for function and sticking with the midcentury trend keep the style of the furniture like the house. A futon allows us to maybe put a bed in later or adjust the use of the room altogether. We also wanted to put in a credenza. Not a dresser and not a tv console, but both, and our guests can put snacks in their too! These two pieces are bold in color and purpose but we are happy with the outcome and function.


Thriting and repurposing was where the rest of the details came from. My favorite orange rug from Ikea is a simple and inexpensive way to add color and change up a room. I love the shag to it! Great for bedrooms! Speaking of Ikea this clock shelf was in my office for the last 6 years, and I still love to this day, which is why Ikea still carries it! The statement chair was a set of two from Costco 6 years ago as well and Costco doesn’t even carry things from 6 months ago so good luck finding that! Finally I thrifted this Ikea blue table at a Goodwill 50% off day and scored it for $3.


I would like to think I am pretty good at “Staging a Bookcase.” All you really need are: Books (lol), candles, plants (real or fake), art, photos, crystals (something unique). Make sure to balance each shelf meaning if you did a book on the right, a few shelves down, add book on the left. Always share photos of great memories and change them out from time to time or different seasons or guests. And finally, put some crystals in there. Cleanse the energy and give your guests something to admire.


A few candles and throw pillows from target’s clearance section and we are ready to put some fresh linens in the cabinet and have our first guest enjoy her stay. We are book through July and Last week in August, but message me and we can see whats open for the other summer dates.

XoXo

Britt

 
IMG_5688.jpg
IMG_5273.jpg
IMG_5282.jpg
IMG_5274.jpg
IMG_5283.jpg
IMG_5277.jpg
IMG_5279.jpg
IMG_5275.jpg
In Home Tags Design, Redesign, Guest Room, Home, House, Decorate, Space, Budget
Comment

BUILD A WALL

May 9, 2019 Britt Johnson
IMG_4375.jpg
 

Britt the Builder here! I earned the right to call myself this! I finally finished my wall! What started from a pinterest inspo, like most, turned into an amazing, one of a kind, art wall installation. We are in the thick of Finding AZ Engagement and we are putting some serious work in our backyard for the big day. One of the biggest projects I was excited to take on was a feature wall. Repurposed. Herringbone. DIY. These are all big buzz words I was ready to take head on and now that it’s over I can share, my blood, sweat and tears.

 
THIS is the exact screen shot I took scrolling through the gram one night! If you’re not following Young House Love you need to. Great book, podcast, page & people!

THIS is the exact screen shot I took scrolling through the gram one night! If you’re not following Young House Love you need to. Great book, podcast, page & people!


I had 2 major focuses for this project: The Budget and a Custom Design. First, I wanted to use all 100% repurposed wood! I started breaking apart pallets back in February using ones from work with our weekly shipments, then I would cruise the backside of Lowes for minis I could fit in my car. Towards the end of the March I found a craigslist post for a junkyard giving away pallets, but by the final weekend in April, I was pulling old fence posts from our pool pump station. Crowbarring wood from pallets may look easy. I YouTubed how to do it and the Salvage Sister didn’t even break a sweat. Let me tell you this is where most of the blood, sweat and tears came from. I used over 150 pieces of raw pallet boards.


Next, came the custom cuts. Using a Ryobi Hand Saw for the first time was an experience. Mostly because I am left handed. I mean, if you are right handed try using ANY power tool backwards! It is like relearning muscle memory. I sliced each board 3 inches wide (not knowing about standard / mill sizes) and then 30 inches long. After my first 7 boards my arms were tired. I have never worked out like this before. This process took the longest. From setting up and clamping each board, to measuring twice and cutting once. Once I ran out of boards and thought to purchase some at a local home improvement store. I was taken back because each 1 x 3 measure 1 x 2.5! So back to custom cutting! What felt like years late, I was ready to start nailing.

 
IMG_3488.jpg
IMG_3474.jpg
IMG_3465.jpg
IMG_3492.jpg
 

I watched video after video of installing a herringbone wall and it looked so easy. Some were using peel and stick, others had pre-measured boards, but none using repurposed pallet wood and custom slices. But, they all had one thing in common. Start from the middle. I measured my exact center. T squared it off and then used my protractor to find that 45 degree angle. Once the first board was up, it was just plug, level, and play. I used a powerful nail gun with air compressor. The only type for the job because my electrical one didn’t have nearly enough power! A time lapse and a few jumps in the pool later, the easy part was done.

 
IMG_3829.jpg
57807825249__3E449E51-F559-481F-9F1C-4D248043F04B.jpg
 

Thankfully, my father showed up unexpected and unannounced from San Diego that evening and little did he know I was putting him to work on the wall the very next day! Custom sizing and recutting the outer edges came next. We had to place the board in the right puzzle place then measure twice where to make the cut. Using our Ryobi MIter Saw get the perfect 45 degree angle and make the cut. Literally every board is custom cut, some even twice. This overall took 3 days to get all the pieces up!

 
IMG_4299.jpg
IMG_4251.jpg
IMG_4301.jpg
 

After the wall was up, I took our Ryobi electric belt sander to the wall to smooth out any splinters and prep the wood for paint. I chose 3 colors based on our home shades, wedding pallet, and inspo from the photo. The cream was from the “Oops” section of Home Depot. If you don’t know about this section anytime a paint color is mixed and rejected or returned unopened it immediately goes on sale and is set in a clearance section right near the pain counter. This gallon was originally was $35 and I got it for $13.98. The perfect color match too! To simplify the paint project I primed the entire wall with this color to start. Two solid coats, then I could begin taping for the next color. “Rockspring Green,” from Glidden was the name of the next color. I taped off every 3rd board, following the design from the photo and began applying. After the green came “Almost Pink,” another Glidden color. I purchased quart amounts for these two colors and paid the same amount for each quart as I did for my gallon. I also trusted my hand and my paint brush to apply the pink free handedly. No tape, no more patience. The pink is not as pink as I would have liked, but too pink would have been too much!

 
IMG_4362.jpg
IMG_4364.jpg
IMG_4365.jpg
IMG_4368.jpg
 

Now we get to admire it, and when I step back and look at my work of art I cannot help but smile. I created it! From vision to conception. I feel like I can take on any project now. Would I create another custom herringbone wall? Yes! So if you’re in the market, hire me!

XoXo

Britt the Builder

 
IMG_4300.jpg
IMG_4306.jpg
IMG_4367.jpg
In Home Tags homeowner, Home Rennovations, Home Makeover, Herringbone, DIY, Custom Build, Photo Wall
Comment

PLANTING THE SEEDS

March 1, 2019 Britt Johnson
Planting the Seeds Scotts Turf Builder Blog
 

Time for an episode of This Old House with Brose. If you have been watching my weekend insta stories then you know we have been tackling a project every Saturday and Sunday. February, being a wet month, helped and hurt us in the home renno section. It helped because we were able to actually dig and get through the tough soil, but hurt because the rain soaked everything. But, overall, the month of February was dedicated to our front yard curb appeal Phase I: Winter Grass.


I'll be breaking down our step by step guide from hot mess to no stress when it comes to sprinklers, tilling, and seeding. All you need is an afternoon, a couple tools, and grit.

 
Planting the Seeds Scotts Turf Builder Blog
 

We purchased a tiller on Offer Up, which we highly recommend as homeowners on a budget. Why buy new when you can negotiate from someone who maybe only used what you need only one time? Grass seed, lawn food and a hand held spreader are reasonably priced and sprinkler heads are just a few bucks. We purchased one bag of rock and two bags of manure, but you can easily find for free on Craigslist and used our compost dirt from our own backyard to top top it all off!


After the materials were laid out we began the work. First, we removed all the weeds and pulled any current shrubs we wanted to move or remove.


PRO TIP: Any plants you don’t have a space for, replant in a large pot and save for later. It’s also great to have to mobility and flexibility of beautiful foliage.


Next, we mapped out the sprinkler system. We were fortunate to have purchased a home that already had it installed, but we had to replace the heads and make sure the pipes were level and had proper drainage. After hand digging around each head I added rocks and replaced with new heads. Jose began tilling the entire yard while I replanted our rose bushes for a more welcoming entryway.


PRO TIP: If you have a plant overgrown, like a succulent, dig out smaller plants and roots and replant indoor or outdoors. We turned one large agave into 6 smaller curb appeal plants lining the house.


Honestly, tools like the hand help spreader made seeding the grass effortless. We also did the research to get the proper seed that didn’t need to be aerated and also won’t just be bird feed. We purchased the Scotts Heat Tolerant Blue Mix Grass Seed. After spreading it we added grass food and manure. Then, we took our compost mixture from our backyard and spread all the throughout the mix.


Now we wait. Watering every 3 days in the winter and making sure the frost doesn’t kill us is our biggest struggle now, but we are literally just watching grass grow. Less than $100 and a weekend later we have the seeds planted for a beautiful front yard. Our next phase includes adding planters and pavers to really create that curb appeal. Stay tuned.

XoXo

Britt

 
IMG_1721.jpg
IMG_1731.jpg
IMG_1726.jpg
IMG_1733.jpg
In Home Tags This Old House, homeowner, Home Rennovations, Home Makeover, Lawn, Grass, Sotts, Arizona, Home
1 Comment

THE DINNER PARTY SERIES

February 22, 2019 Britt Johnson
The Dinner Party Series. Create Good with the FInding Arizona Podcast Engagement Blog
 

The dinner party series was a project started by Jose and I back in late 2018 as conscious effort to connect with some of our favorite people. As adults approaching 30, okay will be 30 this year, we wanted to create a get together in our new space once a month with a few of our favorite couples to catch up and, of course, gather over a delicious home-cooked meal. We believe connections made face to face, like dinner parties, are often priceless. Whether we are inviting new friends to meet up or renewing friendships the dinners we host are about so much more than eating.


No formal invitations or dress code is required. Table settings provided by local thrift store finds featuring antique coral plates and Ball Mason jars, Walmart flatware and World Market cactus linens finish it off. I always make sure to have a glass carafe filled with a seasonal fruit to flavor the water. The menu is usually catered to our guests, gathering inspiration from Joanna Gaines Magnolia Table Cookbook and of course some of my own personal favorite family recipes, which I’ll be sharing more throughout this blog, but we’ve all also gotten creative when it comes to diet requirements and restrictions. But you better believe we’re all sharing something sweet and savory by the end of the night.


No games no agenda we talk about what we want to talk about not what we have to talk about. We are raw, we are real we are just being adults. No kids, no pets, no stress we want to just get away mentally for a few hours and we invite you to join us.


As 2019 continues, so does the dinner party series. We have even extended the dinner party to a our book club for a collaboration that will be so much fun! But,  of course,  as you know we’re planning the ultimate dinner party for October 12. So whether you’re on the invite list for any of those, or not, we would love to gather over a delicious meal and just be real.

XoXo

Britt

 
Finding Arizona Blog The DInner Party Series
IMG_0175.jpg
IMG_0126.jpg
IMG_0176.jpg
In Home, Food & Drink, Personal Tags Gather, Home, Dinner with Friends, Dinner, recipe, Kitchen, Dinner Party
Comment
Older Posts →

COPYRIGHT © 2025 FINDING ARIZONA PODCAST | ALL RIGHTS RESERVED | PRIVACY POLICY